Introduction
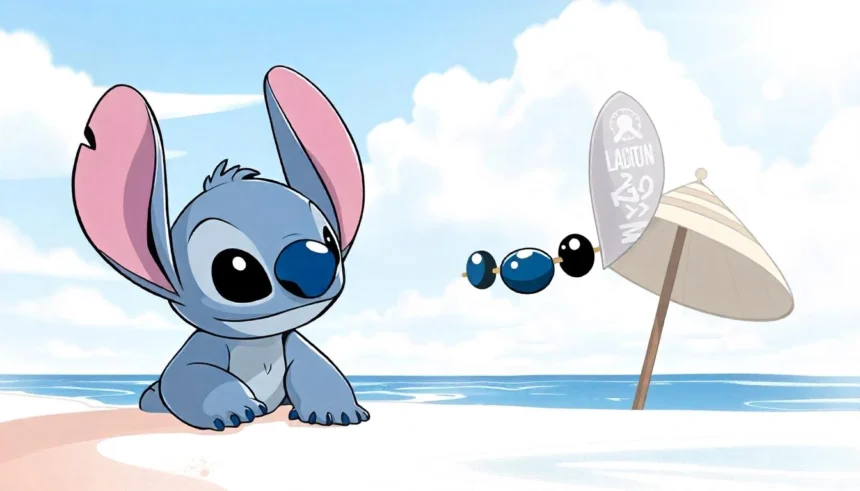
Lilo & Stitch’s adorable blue alien, Stitch, is a fun and expressive character to draw. With his large eyes, floppy ears, and playful grin, capturing his personality on paper is both exciting and rewarding. This step-by-step guide will help you draw Stitch with simple shapes, correct proportions, and shading techniques to bring your artwork to life.
Materials You’ll Need:
- Pencil (HB for sketching, 2B for darker lines)
- Eraser
- Fine-tip black pen or marker (optional for outlines)
- Colored pencils or markers (optional for coloring)
- Sketchbook or drawing paper
Step 1: Draw the Basic Head Shape
- Start by drawing a large oval or a slightly rounded circle for Stitch’s head. This will serve as the base shape.
- Lightly sketch a vertical line down the center of the oval and a horizontal line across the middle—these guidelines will help with symmetry.
Step 2: Outline the Eyes and Nose
- On the horizontal guideline, sketch two large ovals for Stitch’s eyes. These should be slightly tilted inwards.
- Inside each eye, draw a smaller oval for the pupils. Leave a small white highlight to make them look shiny.
- Just below the eyes, draw a small upside-down triangle for Stitch’s nose. Round out the edges so it looks soft and cartoonish.
Step 3: Draw the Mouth and Facial Details
- From the bottom of the nose, sketch a curved line to form Stitch’s smile. His mouth should stretch slightly upwards at the corners.
- To make Stitch look more expressive, add two small curved lines at each corner of the mouth.
- If you want Stitch to be smiling with an open mouth, draw another curved line below the first and connect the corners. Fill in the space with small, rounded teeth.
Step 4: Sketch the Ears
- Draw two large, floppy ears extending from the top sides of the head. The ears should be slightly curved.
- The inner part of the ears can be drawn with a curved line following the outer shape.
- Make sure one ear is tilted slightly more than the other to give Stitch a playful look.
Step 5: Outline the Body
- Sketch a small oval below the head for Stitch’s torso. Keep it proportionally smaller than the head.
- Draw two short, slightly curved lines extending from the bottom of the torso to form Stitch’s legs.
Step 6: Add the Arms and Hands
- Draw two curved lines extending from the sides of the torso to create the arms.
- Stitch’s hands are large, with four fingers. Sketch rounded fingers with small claws at the tips.
Step 7: Add Final Details and Shading
- Draw small ovals on Stitch’s chest and back to create his signature fur markings.
- Add curved lines around the eyes and face to give Stitch more expression.
- If shading, use a soft pencil to create depth around the eyes, under the chin, and at the edges of the ears.
- If coloring, use shades of blue for Stitch’s fur, purple for his ears, and black for the eyes and nose.
Step 8: Finalize the Drawing
- Go over your final lines with a darker pencil or ink pen to make the drawing stand out.
- Erase any unnecessary guidelines.
- Add any extra details or personal touches to make your Stitch unique!
By following these steps, you can easily bring Stitch to life on paper. Practice different expressions and poses to improve your drawing skills and have fun experimenting with your style!