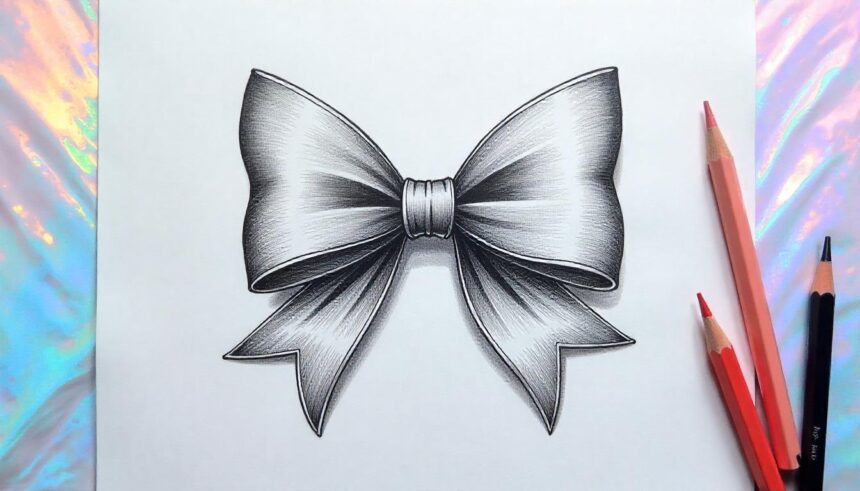
Introduction to Drawing a Bow
Are you ready to unleash your inner artist? Drawing can be a delightful way to express creativity, and mastering the art of sketching a bow is an excellent place to start. Whether you’re inspired by archery, fantasy tales, or simply enjoy the elegance of this iconic shape, learning how to draw a bow opens up endless possibilities for your artistic journey. With just a few materials and some guidance, you’ll soon find yourself creating beautiful bows that pop off the page. Let’s dive into this fun and rewarding process!
Materials Needed for Drawing a Bow
To start your journey on how to draw a bow, gather the right materials. A good sketchbook is essential for capturing your ideas and refining your techniques over time.
Pencils are key players in this process. Choose a range of hardness, from soft (B) for shading to hard (H) for fine lines. This variety allows you to create depth and texture effortlessly.
Erasers come next; both kneaded and regular types will serve different purposes. Kneaded erasers help lift graphite gently without damaging the paper, while standard ones work well for quick corrections.
Consider using colored pencils or markers if you want to add flair to your artwork. These tools can enhance details and bring life to your drawn bow, making it stand out beautifully on the page. Having these materials at hand sets a solid foundation as you dive into drawing techniques that follow!
Step-by-Step Guide on Drawing a Bow
Start with a light sketch of the bow’s shape. Think about its curvature and length, ensuring it resembles a gentle arc.
Next, add the limbs. These are the two sides that extend from the grip. Make sure they taper toward the tips for realism.
Now focus on drawing the riser, which is where you hold the bow. It should be slightly wider than other sections and can have some decorative elements for style.
Don’t forget to include string notches at both ends of your bow’s limbs. This detail is essential as it shows where the string will attach.
Draw in your string with a slight curve to give an impression of tension. Add any extra details like arrows or fletching nearby to complete your scene!
Tips and Tricks for a More Realistic Bow Drawing
To create a more realistic bow drawing, start by studying real bows. Observe their curves and details. Pay attention to the materials used—wood, fiberglass, or carbon—and how these textures can be represented.
Incorporate shadows and highlights effectively. Use shading techniques to show depth and dimension. A light source can dramatically affect how your bow appears on paper.
Practice different styles of bows too. Traditional longbows have distinct lines compared to modern compound bows with their intricate pulleys.
Experiment with color if you’re going for a colored drawing. Realistic hues will add life to your artwork. Don’t shy away from using reference images; they provide invaluable insights into proportions and angles.
Step back periodically while you draw. This gives you perspective on overall balance and realism in your work as you adjust details along the way.
Common Mistakes to Avoid When Drawing a Bow
When learning how to draw a bow, several common mistakes can hinder your progress. One frequent error is neglecting proportions. Ensure the limbs and string are in harmony; otherwise, your drawing may appear awkward.
Another pitfall is overlooking details. Many artists rush past elements like the grip or arrow rest. Taking time with these aspects adds depth and realism to your work.
Additionally, don’t forget about perspective. A bow seen from an unusual angle requires careful attention to foreshortening. Ignoring this can lead to unrealistic shapes.
Be wary of using too much pressure with your pencil during initial sketches. Light lines allow for easy adjustments later on without damaging the paper’s surface.
Stay mindful of these pitfalls as you refine your skills in drawing a bow!
Inspiration and Resources for Further Improvement
To elevate your bow-drawing skills, seek out various resources. Online platforms like YouTube offer countless tutorials that cater to different styles and techniques. Visual learners will find step-by-step demonstrations incredibly helpful.
Books focusing on drawing fundamentals can provide deeper insights into proportions and shading. Look for titles specifically about archery or historical bows for added inspiration.
Art communities, both online and offline, are treasure troves of feedback and camaraderie. Websites such as DeviantArt allow artists to share their work, fostering a supportive environment for growth.
Consider joining local art classes or workshops focused on drawing objects in motion. Engaging with experienced instructors can accelerate your learning process significantly.
Don’t forget social media! Platforms like Instagram showcase talented artists who often share tips and tricks through posts or reels. Follow them for daily motivation while you refine your craft.
Conclusion
Drawing a bow can be both an enjoyable and rewarding experience. This skill not only enhances your artistic abilities but also deepens your appreciation for the beauty of archery. With the right materials, techniques, and practice, anyone can master this craft.
Remember to start with basic shapes and gradually refine your lines. Pay attention to proportions and details, as these will bring life to your drawing. Utilizing tips from experienced artists can save you time and help improve the realism of your work.
Avoid common pitfalls like neglecting perspective or rushing through the sketching process. By dedicating time to study references and practicing regularly, you’ll notice significant improvements in no time.
Whether you’re illustrating for fun or pursuing a more serious art project, keep experimenting with different styles and techniques. There’s always something new to learn that will enhance your skills further.
Embrace each stroke of the pencil as part of a journey toward artistic mastery! Happy drawing!