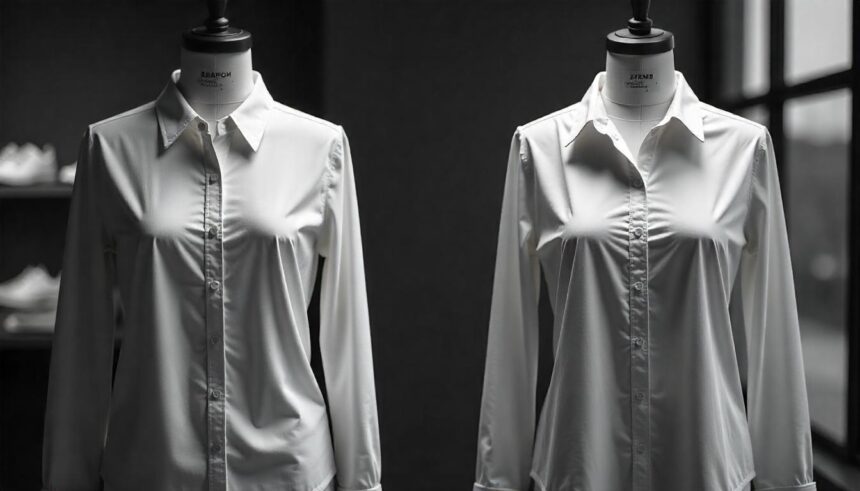
Finding the perfect shirt can be a challenge, especially when sizes don’t always match expectations. If you have a favorite shirt that’s a bit too big, don’t worry—shrinking it to the right size is easier than you think. This guide will walk you through fabric-specific shrinking techniques, heat-based methods, and precautions to keep your shirt stylish and undamaged. Plus, we’ll share customization tips to get the perfect fit every time.
Understanding Fabric Types: What Can and Can’t Shrink
Before you start the shrinking process, it’s crucial to understand how different fabrics react to heat and water. Some fabrics shrink easily, while others require special care or won’t shrink at all.
- Cotton: The most shrink-friendly fabric. Pure cotton shrinks easily when exposed to high heat.
- Wool: Shrinks significantly when subjected to heat and moisture, but it can also felt and lose softness.
- Polyester: A synthetic fabric that resists shrinking but may contract slightly with high temperatures.
- Rayon: Prone to shrinking but also highly delicate; excessive heat can cause damage.
- Denim: Made mostly of cotton, denim can shrink but needs extra care to maintain structure.
- Linen: Shrinks under heat but can also lose its crisp texture if not handled properly.
Knowing your fabric type is key to choosing the best shrinking method and avoiding damage.
Heat-Based Methods to Shrink a Shirt
Once you’ve identified the fabric, you can choose a shrinking method that works best. These heat-based techniques are effective and commonly used.
1. Hot Water Wash and High Heat Drying
Best for: Cotton, linen, and certain polyester blends.
- Set your washing machine to the hottest water temperature.
- Wash the shirt on a full cycle.
- Immediately transfer it to the dryer on the highest heat setting.
- Check periodically to avoid over-shrinking.
Tip: If you only want slight shrinkage, use medium heat instead of high heat.
2. Boiling Water Method
Best for: 100% cotton and wool (with caution).
- Boil a pot of water.
- Turn off the heat and submerge the shirt for about 5 minutes (less time for minor shrinkage).
- Remove the shirt with tongs and wring out excess water.
- Dry it on high heat for further shrinkage.
Warning: Wool can become stiff and felt-like if left too long in boiling water.
3. Steam Shrinking with an Iron
Best for: Wool, rayon, and delicate fabrics.
- Lay the shirt flat on an ironing board.
- Set the iron to the steam setting or use a handheld steamer.
- Hold the iron a few inches above the fabric and let the steam penetrate.
- Stretch and reshape the shirt as needed while it’s warm.
Tip: This method works well for minor adjustments without causing fabric damage.
4. Tumble Dry Only Method
Best for: Shirts that have already been washed but need extra shrinkage.
- Slightly dampen the shirt (a spray bottle works well).
- Toss it in the dryer on high heat.
- Check every 10 minutes to control the shrinkage level.
Precautions to Avoid Damage
Shrinking a shirt isn’t without risks. Follow these precautions to keep your shirt looking great:
- Test with a Similar Fabric: Before shrinking a favorite shirt, test the method on an old or similar fabric to see how it reacts.
- Avoid Overheating Delicate Fabrics: Rayon and wool are particularly sensitive to high heat and agitation.
- Check the Fit Regularly: Shrink in stages to prevent going too far.
- Use a Pillowcase for Delicates: If shrinking a delicate shirt, place it in a pillowcase to minimize damage in the wash.
- Stretch While Damp: If the shirt shrinks unevenly, gently stretch it back into shape while it’s still damp.
Customizing Fit and Reshaping Techniques
Sometimes shrinking isn’t just about making a shirt smaller—it’s about refining the fit to your body type. Here’s how you can make small adjustments for the perfect look:
1. Targeted Shrinking
If only certain areas need shrinking, dampen just those sections and use a blow dryer or iron to heat and contract the fabric.
2. Reshaping After Shrinking
- Lay the shirt flat and smooth out any wrinkles.
- Gently pull the fabric in areas that may have shrunk too much.
- Steam or iron while reshaping to maintain structure.
3. Taking in Side Seams
If a shirt shrinks unevenly or doesn’t fit perfectly after washing, sewing in the side seams can create a custom fit. A simple stitch along the sides can refine the shape without risking too much shrinkage.
Conclusion: Making Your Shirt Work for You
Shrinking a shirt is a simple and effective way to achieve a better fit, whether you’re fine-tuning an oversized tee or adjusting a structured button-down. By understanding fabric types, using heat strategically, and following precautions, you can confidently resize your wardrobe without fear of damage. If you ever shrink too much, remember that reshaping and careful stretching can help restore balance. Now, go ahead and make your shirts fit like they were tailored just for you!